
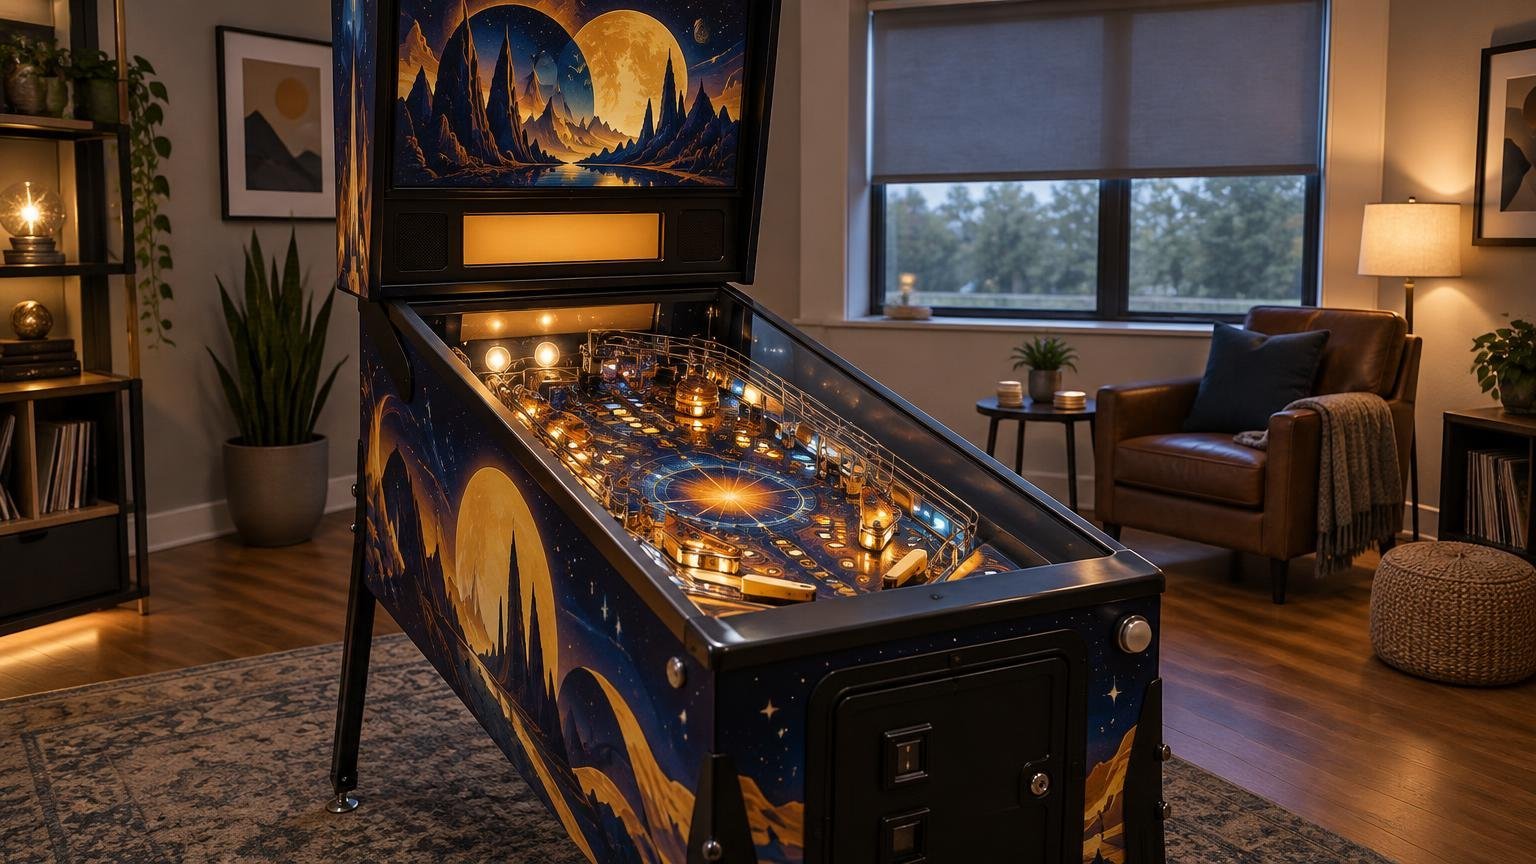
TLDR
The simplest way to reduce pinball room lighting glare is to stand in your normal playing position, identify the bright object reflected in the playfield glass, and address that source before modifying the machine. Reposition or soften exposed fixtures, control daylight, and use dimmers or separate lighting zones. If the reflection moves with the backbox or display rather than the room, investigate machine-specific brightness settings or compatible glare-control products.
Good pinball room lighting glare control is not about making the room dark. The goal is to keep bright reflected shapes out of the player’s viewing path while preserving enough light for safe walking, cleaning, maintenance, and household use. Room layout, service access, noise, power, and the route used to move the machine should remain part of the plan.
Why pinball glass reflects lights so clearly
Playfield glass behaves like a large glossy surface positioned directly between the player and the game. A ceiling fixture, window, television, or backbox can therefore appear as a sharp reflection over inserts, artwork, and moving balls. The Illuminating Engineering Society defines glare in terms of brightness in the visual field that can cause discomfort or reduce visibility. Its definition of reflected glare specifically concerns bright sources reflected by polished or glossy surfaces near a visual task. The IES definition of reflected glare provides the relevant lighting concept here.
Glare depends on geometry as well as raw brightness. A fixture that causes an obvious reflection for a standing player may be harmless from another location. Player height, source position, source size, ambient brightness, and the angle of the glass all affect what appears in the viewing path. That is why buying a different bulb without first finding the reflection often produces disappointing results.
Diagnose pinball room lighting glare before changing anything
Begin with the machine in its intended playing position. Turn on the lighting normally used at that time of day, start the game, and stand where a player’s head would usually be. Look at the reflection rather than through it. A recognizable rectangle, row of lamps, window frame, or display usually reveals the source.
- Check the glass from the normal player position, then move slightly left, right, forward, and back. Note whether the reflection disappears with a small change in position.
- Switch room lights off one group at a time. This isolates the responsible fixture without guessing.
- Repeat the check during daylight and after dark. A room that works at night may become difficult to play when afternoon sun reaches a window.
- Temporarily dim the backbox or display using an official adjustment, if the game provides one. If the reflection changes while room lighting stays constant, the source is probably on the machine.
- Take a photo from eye level at the flipper buttons. Photos help document the source and are useful if you later ask an installer or technician for help.
| What the reflection looks like | Likely source | First adjustment to test |
|---|---|---|
| Bright circles or a row of white shapes | Exposed ceiling lamps | Dim or switch off that lighting zone; test diffusion or a different fixture aim |
| Large bright rectangle that changes through the day | Window or glazed door | Close a shade temporarily or test a modest machine-position change |
| Colored rectangle near the lower playfield | DMD or LCD reflection | Test official display or backbox brightness controls |
| Broad glow without a defined shape | General room brightness or pale surfaces | Reduce the brightest zone while retaining safe pathway lighting |
| Reflection visible only from one stance | Source and player geometry | Test small placement or aiming changes before buying equipment |
Fix room-source glare with placement and control
A ceiling fixture directly above a machine is not automatically wrong, but an exposed bright lamp in the player-to-glass reflection path is a common problem. The important question is whether the lamp itself appears in the playfield glass from the usual stance. A fixture behind the player can be just as troublesome if its reflection lands near the flippers or central shots.
The least disruptive remedy is often better control rather than a full lighting replacement. Dimmers let a room shift between cleaning brightness and playing brightness. Separately controlled zones let walkway or seating lights remain on while the fixture producing the reflection is reduced. Shielding and diffusion can make a bright point source less visually aggressive, while indirect lighting aimed at a wall or ceiling can illuminate the room without putting an exposed lamp in the glass.
Test each idea temporarily before rewiring or purchasing fixtures. Turn off one fixture, use an existing lamp from another position, or hold an opaque card where a shade would block direct view of a bulb. The test does not need to look attractive; it only needs to prove whether brightness, aiming, or position is responsible. Permanent electrical work and new controls should comply with applicable requirements and be handled by a qualified person when appropriate.
Preserve useful light around the machine
A dramatic dark arcade can look appealing, but complete darkness creates its own problems. Players still need to find steps, drinks, stools, doors, and machine legs. Owners need enough light to inspect the cabinet, remove fingerprints, find dropped hardware, and recognize a developing leak or damaged cable. Keep circulation areas gently illuminated and aim to remove the reflected image rather than every lumen in the room.
Control daylight at the time you actually play
Windows are easy to overlook during an evening setup. Check the proposed machine position during the hours when the room will be used. Low sun may create a direct reflection, while a bright overcast sky can turn an entire window into a pale rectangle across the playfield.
Shades or curtains are usually easier to reverse than moving a fully assembled machine. If repositioning is necessary, test the new angle with the machine safely stationary and confirm that the change does not block a doorway, narrow the playing aisle, or remove service access. Avoid placing the game where prolonged direct sunlight could also affect cabinet or playfield appearance.
Separate backbox and display reflections from room glare
If switching off every room light leaves a bright reflection, look at the game itself. Backbox illumination, a dot-matrix display, or an LCD can reflect into the playfield glass. Specialist LED guidance notes that reducing backbox brightness may reduce reflected glare and that very bright, tall, or tightly focused lamps can create hot spots. This is practical product guidance, not a universal lighting standard.
Start with documented settings available through the game’s normal menus. Do not assume that changing lamps, adding a filter, or installing an internal accessory is appropriate for every title. DMD glare eliminators exist specifically to address display-originated reflections, but compatibility, attachment method, clearance, appearance, and service access are product- and machine-specific.
Treat an internal-lighting change as a modification rather than ordinary room decoration. Verify applicable instructions, electrical compatibility, heat, fit, warranty implications, and whether the part obstructs future maintenance. Power the machine down before accessing internal areas, and defer to the manual or a qualified technician when the work extends beyond a documented owner adjustment.
Plan the whole pinball room, not just the light fixtures
A glare-free location can still be a poor home for a pinball machine. Before settling on the position, walk through how the game will arrive, how people will play it, and how it will be opened for maintenance. The machine needs a practical route through doors and turns, stable placement, safe cable routing, player circulation, and enough usable space for the specific service procedures described by its manufacturer.
Do not rely on a universal clearance number. Backboxes, cabinet dimensions, glass-removal procedures, playfield support systems, and service positions vary. Measure the actual room and consult the exact machine documentation. The broader home pinball setup checklist covers room choice, access, sound, leveling, and other placement consequences, while this pinball machine space guide helps frame the measurements to verify.
Power and moving requirements are model-specific
Use the machine’s manual or manufacturer documentation for voltage, grounding, consumption, fuse information, dimensions, and moving instructions. As an illustration of why generic rules are risky, one older Stern manual specifies a grounded 110–125 V AC domestic supply, approximately 329 watts of average operating power, and up to 940 watts at maximum operation for that particular model. The same manual lists an unboxed weight of about 260 pounds and gives a two-person moving warning. Those figures illustrate the issue; they are not specifications for another game.
Inspect the intended outlet and cord location before delivery. Avoid creating a trip hazard or placing a plug where the cabinet crushes it. If there is doubt about outlet condition, grounding, circuit capacity, extension-cord use, or local electrical requirements, ask a qualified electrician rather than deriving an answer from another machine’s manual.
Noise and household fit
Pinball sound is not limited to speakers. Flippers, coils, knockers, ball movement, and cabinet vibration can travel through floors and shared walls. Consider bedrooms, home offices, apartments, and the hours when the machine will be played. In-game volume controls may help with amplified sound, but they do not silence mechanical action.
Also consider who shares the space. A dim playing zone should not make a family walkway unsafe, and a curtain used for glare control should not interfere with a heater, door, or ventilation. If the room serves several purposes, separately controlled lighting zones usually provide more flexibility than a single all-or-nothing ceiling switch.
When to bring in moving, setup, or repair help
Professional help makes sense when the transport route includes stairs or tight turns, the machine develops a problem after moving, internal illumination behaves abnormally, or a glare remedy requires electrical or machine-specific modification. A technician can also help distinguish an ordinary reflection from a lighting fault, damaged connector, unstable lamp, display issue, or poorly fitted accessory.
For Utah owners, Rock Custom Pinball states that its services can include lighting issues, diagnostics, cleaning, lighting replacement, connector work, and installation of customer-supplied modifications when the game and part allow the work to be completed cleanly and safely. Service scope, timing, territory, and availability should be confirmed for the specific request. The Utah pinball repair page is the appropriate next step for a machine problem rather than a room-lighting adjustment.
When requesting help, provide the machine title and edition, your city, a photo from the player’s eye level, a wider room photo, and a short video showing which lights are on. Explain whether the reflection changes during the day or when the backbox or display brightness changes. That information makes it much easier to separate room geometry from a machine fault.
A practical final check
Solve glare in this order: identify the reflected source, test the smallest reversible room adjustment, manage daylight, and only then consider a machine-specific setting or accessory. After the image is clear, confirm that the room still provides safe walking light, a workable transport route, service access, suitable power, and acceptable noise for the household.
The best pinball room is not necessarily the darkest one. It is the room where the playfield remains readable, people can move safely, and the machine can be cleaned, opened, and eventually moved without undoing the entire setup.