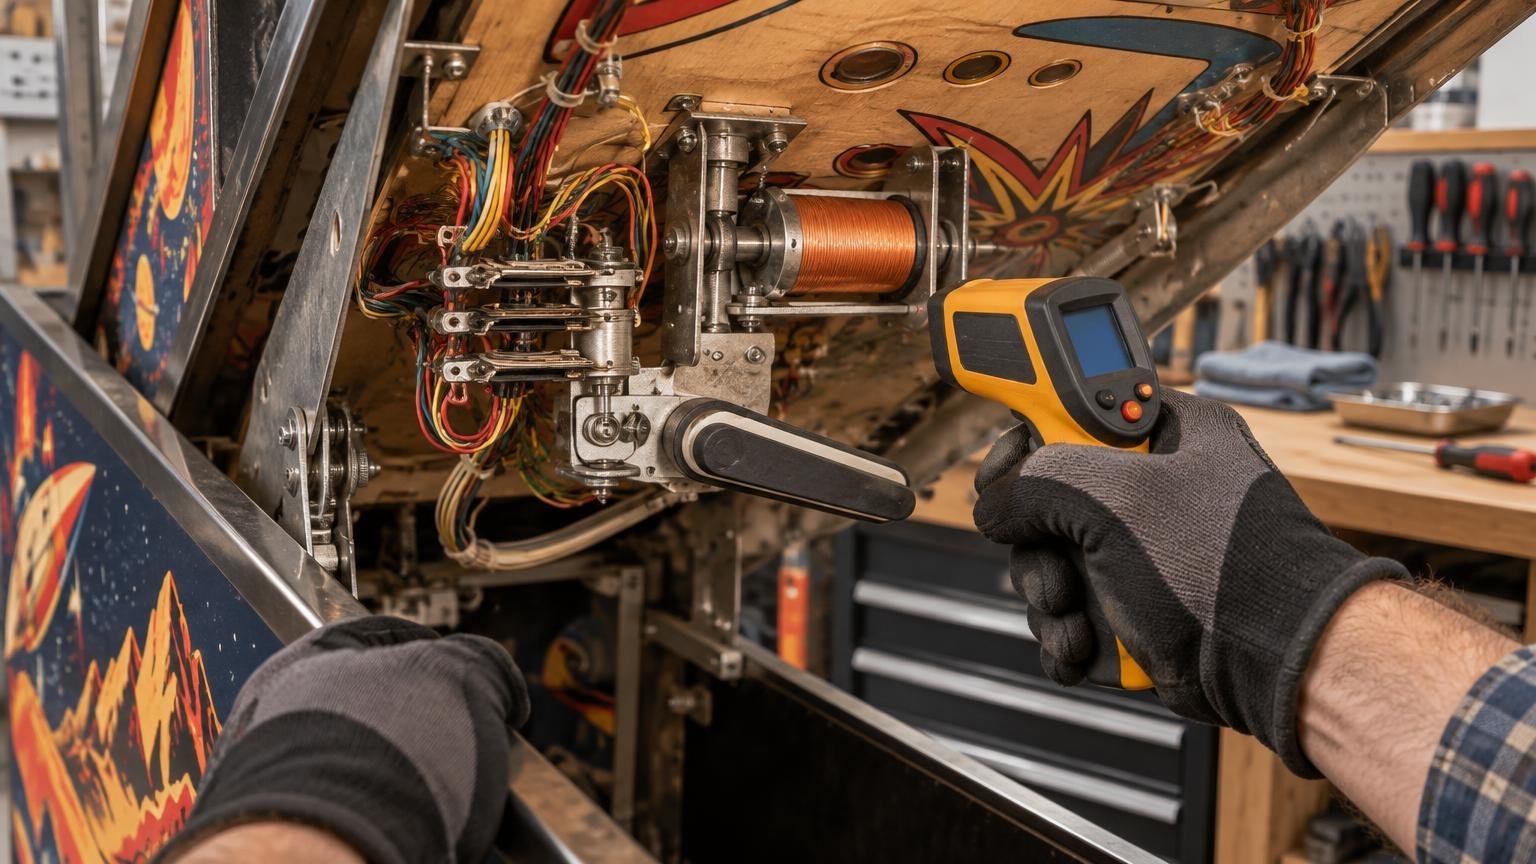
Pinball coil overheating deserves immediate attention when a mechanism stays energized, heat rises quickly, or you notice a burning smell, smoke, discoloration or melting. Stop playing, switch the machine off, unplug it and allow it to cool. Do not keep starting a game to see whether the problem repeats. Rock Custom Pinball’s published repair guidance likewise treats a locked-on coil or burning smell as a stop-playing symptom.
Some warmth during operation does not, by itself, prove that a coil has failed. Coils operate by converting electrical energy into magnetic force, and heat is part of that process. The useful question is not simply whether the coil feels warm. It is whether the heat appears alongside abnormal behavior, develops unusually quickly or causes visible damage. There is no universal touch test or safe temperature that applies across every pinball system.
First steps when pinball coil overheating is suspected
Begin with observation rather than repair. Note which mechanism is involved and exactly when the symptom appears. A flipper that gets hot only after being held up points toward a different diagnostic path than a pop bumper that remains pulled in as soon as the machine starts.
- End the game and turn the machine off. If there is smoke, a burning odor or a mechanism locked in its energized position, unplug the machine rather than leaving it in attract mode.
- Avoid repeated power cycles and coil tests. Re-energizing the suspected assembly can turn an intermittent problem into damaged wiring, a deformed sleeve or a failed coil.
- Let the assembly cool before making a visual inspection. Do not touch a coil, bracket or nearby hardware while it may still be hot.
- Record the game title, manufacturer, edition and approximate production era. Similar-looking mechanisms can use different circuits and diagnostic procedures.
- Write down when the behavior occurs: immediately at startup, during a specific shot, while holding a flipper button or only after extended play.
- Photograph visible damage or record a brief video only if the symptom can be captured without operating a potentially unsafe fault. Never prolong a lock-on to make better documentation.
These notes will make a model-specific manual or technician substantially more useful. For additional preparation, see what to check before calling for pinball repair. The game title, symptom description, location, and safe photos or video are among the useful details requested in Rock Custom Pinball’s repair materials.
Why a pinball coil can become too hot
At a high level, overheating usually belongs to one of three diagnostic categories: power is being applied for too long, the associated mechanism or switch is not behaving as expected, or the wiring or driver circuit has a fault. These are starting categories, not remote diagnoses.
Mechanical resistance can matter because a plunger, linkage or other moving part that cannot complete its intended movement may leave the system in an abnormal state. Switch position can also matter on mechanisms whose control logic depends on confirmation of movement. Electrical possibilities include damaged wiring, an incorrect or damaged coil, a connector problem, or a fault in the circuit controlling the coil. The precise possibilities depend on the machine.
A melted coil sleeve does not establish that the sleeve was the original cause. It may be damage left behind by excess heat, mechanical binding or another fault. Replacing only the sleeve without finding out why it deformed risks repeating the problem.
Symptoms that change the troubleshooting path
The mechanism energizes at startup
A coil that pulls in immediately when the machine is switched on should be treated as a lock-on condition. Power the game down rather than waiting to see whether the mechanism releases. On Stern’s SPIKE platform specifically, the manufacturer’s troubleshooting material identifies possibilities including a drive wire shorted to ground and a faulty node-board driver circuit. Those possibilities should not be copied to machines using other control systems.
A flipper heats while the button is held
Flippers require architecture-specific diagnosis. In one common dual-wound arrangement, a powerful winding starts the movement. An end-of-stroke switch, usually called an EOS switch, then removes that high-power winding while a lower-power hold winding keeps the flipper raised. Mission Pinball Framework’s explanation of flipper EOS switches describes this arrangement and also discusses software-controlled approaches.
If a flipper becomes unusually hot while held, feels weak, chatters, sticks or fails to stay up consistently, stop using it and consult the correct documentation. Do not assume every game has an EOS switch that can be cleaned or adjusted in the same way. Older electromechanical games, later solid-state machines and modern software-controlled platforms can handle flipper power differently.
The problem develops only during play
Record which event precedes the heat. Useful examples include a trough up-kicker firing repeatedly, a diverter failing to return, a pop bumper staying pulled in or a flipper becoming weak after several games. The affected mechanism matters more than the generic label “solenoid problem.”
Diagnostic modes also require restraint. A Stern AC/DC Pro manual, for example, warns that continuous use of a particular diagnostic routine can overheat the trough up-kicker coil. That warning is model-specific, but it illustrates the broader point: a test menu is not permission to cycle a coil continuously.
The symptom began after transport or previous work
A problem that starts after moving the machine, changing parts or working under the playfield is worth reporting as part of the timeline. A connector may have shifted, a wire may have been pinched, a mechanism may no longer move freely or an incorrect part may have been fitted. Inspect only what is clearly visible with the machine powered off and unplugged. Suspected wiring, board or driver work belongs with someone who has the documentation and appropriate test equipment.
Why the exact service manual matters
Coil voltage, winding design, driver architecture, switch behavior, fuse protection and diagnostic menus vary by manufacturer, generation and model. That variation is why a repair sequence copied from another game can be ineffective or damaging. Even machines from the same manufacturer may use different platforms and board revisions.
Stern’s support hub publishes resources such as manuals, schematics, service bulletins and game code. For a SPIKE machine, Stern’s manual separates coil-related symptoms into different troubleshooting paths and directs users to the service-menu coil test. Owners should follow the documentation for the exact title and platform, not treat SPIKE instructions as universal pinball guidance.
Start with the manufacturer’s manual and confirm the game title, model or edition, system generation and relevant board revision where documented. Use the manual to identify the assembly and understand the intended diagnostic path. If the procedure requires energized measurements, jumpers, board repair or uncertainty about high-current wiring, stop and arrange qualified service.
What owners can inspect safely
With the machine switched off, unplugged and cooled, an owner can make a limited visual inspection without claiming to diagnose the fault. Look for observations that will help a technician:
- A plunger or linkage that appears stuck or visibly obstructed
- A sleeve that is warped, melted or discolored
- Darkened coil wrapping, burnt connectors or damaged wire insulation
- A loose, displaced or visibly broken switch associated with the mechanism
- A wire that appears pinched against metal or disturbed after transport
- Evidence that a recently installed part is touching a moving assembly
- A label on the installed coil that can be photographed and compared with the game’s parts documentation
Do not straighten switch blades, substitute a fuse, install a different coil or reposition wiring based only on a generic article. A coil that looks physically intact may still have an electrical problem, while a damaged coil may be only one consequence of a driver or mechanical fault.
When to stop DIY troubleshooting
Arrange service instead of continuing owner-level checks when there is visible heat damage, a burning smell, smoke, repeated lock-on, damaged wiring or connectors, or uncertainty about whether the correct coil is installed. Board-level driver faults, energized circuit measurements and repairs involving compromised insulation also justify escalation.
Repeated fuse failure is another reason not to improvise. Never install a higher-rated fuse to keep the machine running. The correct fuse type and rating must come from the game’s documentation, and the underlying fault still needs diagnosis.
Repair cost depends on whether the problem is limited to a mechanical assembly or extends to wiring, connectors or control electronics. The broader guide to pinball machine repair costs explains why the symptom alone rarely determines the final scope of work.
What to send a repair technician
A concise fault history can reduce unnecessary testing and help the technician bring relevant documentation or parts. Include:
- The full machine title, manufacturer and edition
- The affected mechanism, such as the left flipper, trough up-kicker, pop bumper, diverter or magnet
- Whether the coil energizes at startup, after a particular shot, while a button is held or only after extended play
- Any burning smell, smoke, melting, discoloration or wire damage
- Whether the mechanism still moves, feels weak, chatters, sticks or remains energized
- Recent transport, cleaning, modification, repair or part replacement
- Any error messages or service-menu reports, copied exactly
- Clear photos of the mechanism, coil label and visible damage, plus video only when it was safely obtained
- The machine’s location and any access considerations relevant to service
For owners seeking local help, Rock Custom Pinball’s Utah pinball machine repair page provides the current contact route. Service feasibility can depend on the machine, location and nature of the fault, so send the details above rather than continuing to operate an overheating mechanism.
The practical next step
Treat abnormal heat as a symptom, not a diagnosis. A mildly warm coil without unusual behavior is different from a mechanism that locks on, heats rapidly, smells burnt or damages nearby material. In the latter case, power down, unplug the machine, document what happened and use the exact game manual or a qualified technician.
The most helpful distinction is timing: did the coil energize at startup, become hot while held, or overheat only after a specific gameplay event? That observation narrows the correct diagnostic branch without exposing the machine to repeated testing—and without pretending that one repair procedure fits every pinball platform.
Frequently Asked Questions
Is it normal for a pinball coil to get warm?
Some warmth during operation does not by itself indicate failure. Rapid heating, lock-on, weak or sticking movement, burning odor, smoke, melting or discoloration are reasons to stop play and investigate.
What should I do if I smell burning from a pinball machine?
End the game, switch the machine off, unplug it and allow it to cool. Do not repeatedly restart it to reproduce the problem.
Why can a flipper coil become hot while the button is held?
In one common dual-wound design, an EOS switch removes the high-power winding after the flipper reaches the end of its stroke while a lower-power winding holds it up. Flipper designs vary, so use documentation for the exact machine rather than assuming every game works this way.
What does it mean if a coil energizes immediately at startup?
Treat it as a lock-on and power down. On Stern SPIKE systems, documented possibilities include a drive wire shorted to ground or a faulty node-board driver circuit, but those possibilities do not apply universally.
Does a melted coil sleeve mean only the sleeve needs replacement?
No. A deformed sleeve may be a result of excess heat, mechanical binding or another fault. The underlying cause should be identified before replacing the damaged part.