
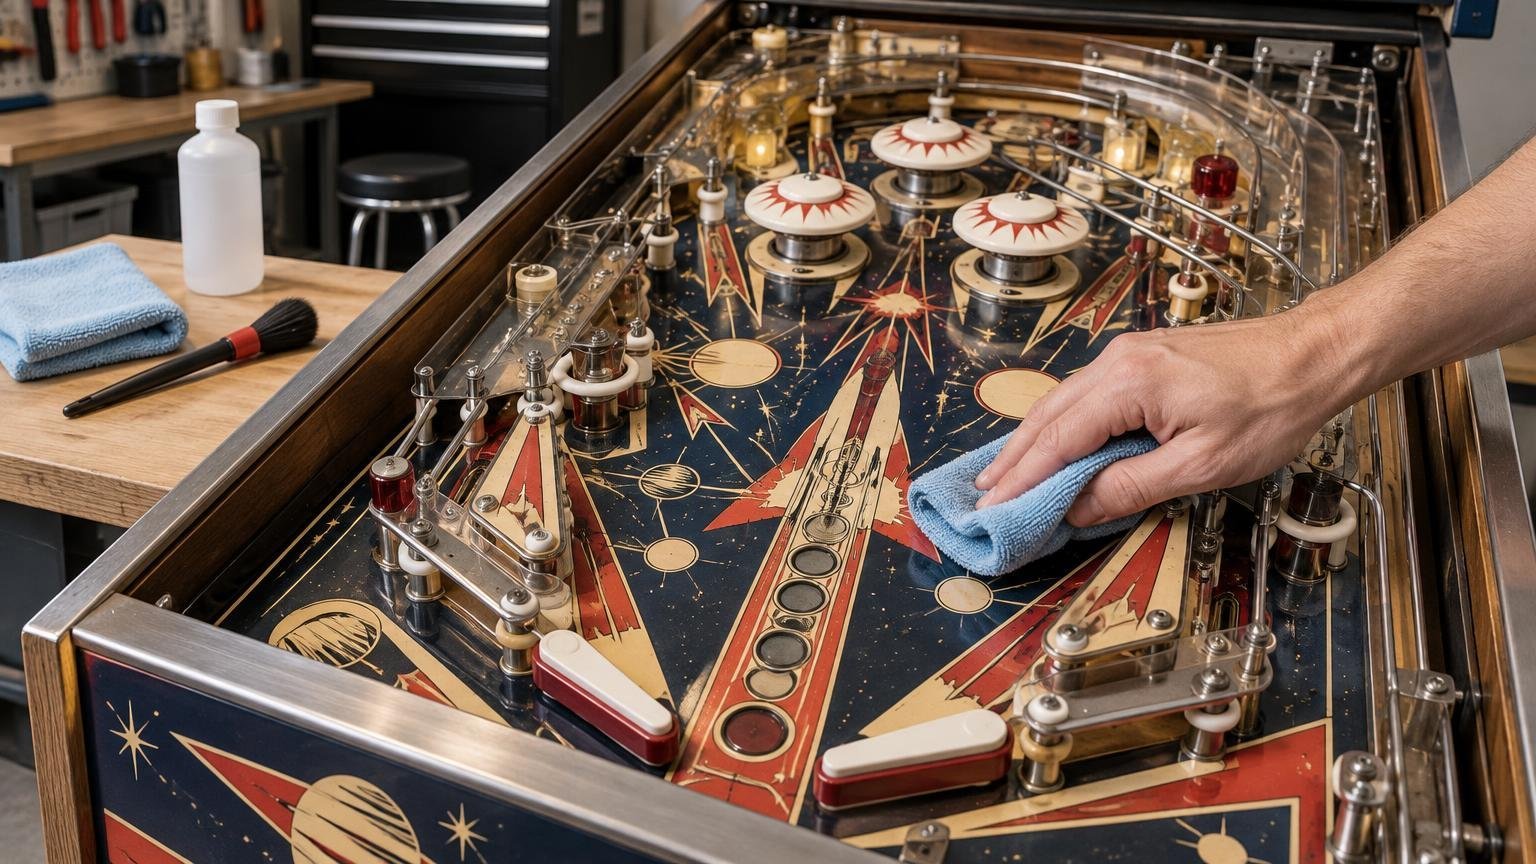
The safest way to clean a pinball playfield is to follow the manual for that exact machine, power it down completely, remove loose debris first, and apply only an approved product to a clean microfiber cloth—not directly to the playfield. The important detail is that cleaning instructions vary. A product approved for one modern clearcoated game may be wrong for another machine, especially an older or already damaged playfield.
Treat cleaning as an inspection rather than a polishing contest. Your goal is to remove contamination while noticing cracked plastics, loose parts, worn rubbers, damaged balls and lifting artwork before they become larger problems.
Start with the manual for your machine
Look up the latest operation or service manual before choosing a cleaner. The Stern game-manual library specifically directs owners to obtain the most current digital manual for their particular game. Jersey Jack likewise directs owners to its support resources and game manuals for machine-specific care.
This is more than a formality. Stern instructions differ between machines: one Home Edition manual specifies Novus products, while another tells owners to use a soft, dry microfiber cloth and avoid liquids. That difference makes the machine-specific manual—not a general internet recipe—the deciding authority.
If the manual is missing, the playfield has visible wear, or you cannot identify the finish, use only a soft, dry cloth for loose dust until you can obtain reliable documentation. Vintage artwork, touch-ups, lifting inserts and previously repaired areas deserve particular caution.
Power down and prepare the work area
Turn the machine off and unplug it before removing the lockdown bar or glass. In a published Stern service procedure, unplugging comes before glass removal and raising the playfield; Stern also reserves work beyond listed owner procedures for qualified service personnel.
- Remove rings, watches or tools that could scratch the glass or cabinet.
- Prepare clean, soft microfiber cloths so dirt from one surface is not dragged across another.
- Place the playfield glass on a stable, padded surface away from foot traffic.
- Keep drinks, open cleaner bottles and loose hardware away from the cabinet.
- Photograph anything unusual before touching it, especially displaced parts or lifting decals.
Do not raise the playfield merely to perform a routine top-side cleaning. If an inspection requires access underneath, follow the manual’s support and service-position instructions. A playfield is heavy, wired to the cabinet and capable of damaging parts if moved or supported incorrectly.
Inspect before wiping
Use good room lighting and inspect the entire ball path. Look for loose grit, metal fragments, broken rubber, cracked plastics, raised decal edges, loose posts and wear around inserts. Manufacturer maintenance checklists pair cleaning with checks for malfunctioning lights, loose parts, cracked plastics and worn rubber. Under the playfield, the same documentation calls for checking loose parts, broken wires and excessive wear.
Inspect the pinballs as well. Stern warns that dirty balls accelerate game wear and recommends replacing balls that are excessively worn or scuffed. A rough or corroded ball can carry contamination around the game and abrade the surface you just cleaned.
A safe playfield-cleaning sequence
- Lift loose debris gently with a clean, dry microfiber cloth. Do not grind grit across the artwork.
- Check the manual for the approved product and surface. Confirm whether its instructions distinguish the playfield, ramps, plastics and glass.
- Put a small amount of the approved cleaner on the cloth if the manual permits liquid. Do not spray the playfield, plastics, decals or mechanisms directly.
- Work on a small area with light pressure. Keep the cloth away from lifting artwork and avoid flooding gaps around inserts, switches, lamps and posts.
- Turn or replace the cloth as it becomes dirty. A loaded cloth can redistribute abrasive debris.
- Use a separate clean cloth for plastics and ramps. Support fragile parts rather than pressing down on them.
- Stop if color transfers to the cloth, the finish becomes tacky or cloudy, a decal edge moves, or a plastic flexes unexpectedly.
For example, Stern’s Jurassic Park Home Edition manual specifies Novus 2 on a clean, soft microfiber cloth for the playfield and Novus 1 for plastics. Stern’s parts listing also describes Novus 2 as suitable for playfields, clearcoats, ramps and plastics. Those instructions support that particular use; they do not make the same product automatically correct for every game.
Keep cleaners away from switches, lamps and sensors
More product is not better. Cleaner or wax collecting around a switch, sensor, lamp socket or insert can create electrical and diagnostic problems. Stern warns that wax on playfield switches, sensors or lights can cause false switch readings and may contribute to lamps running hotter and failing.
Cleaning and waxing are separate decisions. Before adding a protective product, check the manual and consider the playfield’s finish and condition. Our guide to whether a pinball playfield needs wax explains why wax, polish and cleaner-wax should not be treated as interchangeable.
Clean the glass separately
Playfield glass is its own surface. The Jurassic Park Home Edition manual permits ordinary household glass cleaner with a soft cloth for the glass while prohibiting direct spraying onto the playing surface. Remove the glass and clean it away from the open cabinet so overspray cannot reach the playfield, apron or electronics.
Before reinstalling it, check that both sides are dry and that no cloth fibers remain near the cabinet rails. Handle the glass carefully and use help if its size or weight makes control uncertain.
Reassemble and test without guessing
Confirm that no cloth, bottle cap or loose hardware remains in the cabinet. Reinstall the glass and lockdown bar correctly before reconnecting power. Play a short test game and listen for new rubbing, sticking or repeated switch behavior.
If a switch appears questionable, use the machine’s built-in diagnostic menu and its manual rather than bending or adjusting hardware by eye. Stern documentation includes lamp and switch tests; one checklist describes actuating a switch with a pinball and confirming that the correct switch registers. A failed registration identifies a symptom, not necessarily the failed component.
Let condition determine the cleaning schedule
There is no reliable universal interval. Published Stern examples range from roughly 500 games to roughly 5,000 games, while another schedule calls for attention every two to four weeks under frequent use. Use the manual and the machine’s actual condition. Dust, ball trails, dirty balls and event-level play justify earlier inspection than a covered home machine receiving occasional use.
For a condition-led routine covering the cabinet, glass, balls and playfield, see how often to clean a home pinball machine. Routine light cleaning is preferable to waiting until heavy grime demands aggressive rubbing.
Know when to stop
Pause and consult the manufacturer, a qualified technician or an experienced restoration specialist when you find lifting artwork, exposed wood, flaking clearcoat, cracked plastics under tension, fluid beneath an insert, damaged wiring or a part that must be removed to reach the dirt. Jersey Jack’s owner-care guidance describes routine work such as removing dust and debris, cleaning glass, leveling the game and replacing worn rubbers, while warning that modifications may affect warranty coverage.
The safest cleaning job is deliberately uneventful: correct manual, power disconnected, clean cloths, minimal approved product and no forced disassembly. Clean gently enough that the playfield looks better without creating a new repair.