
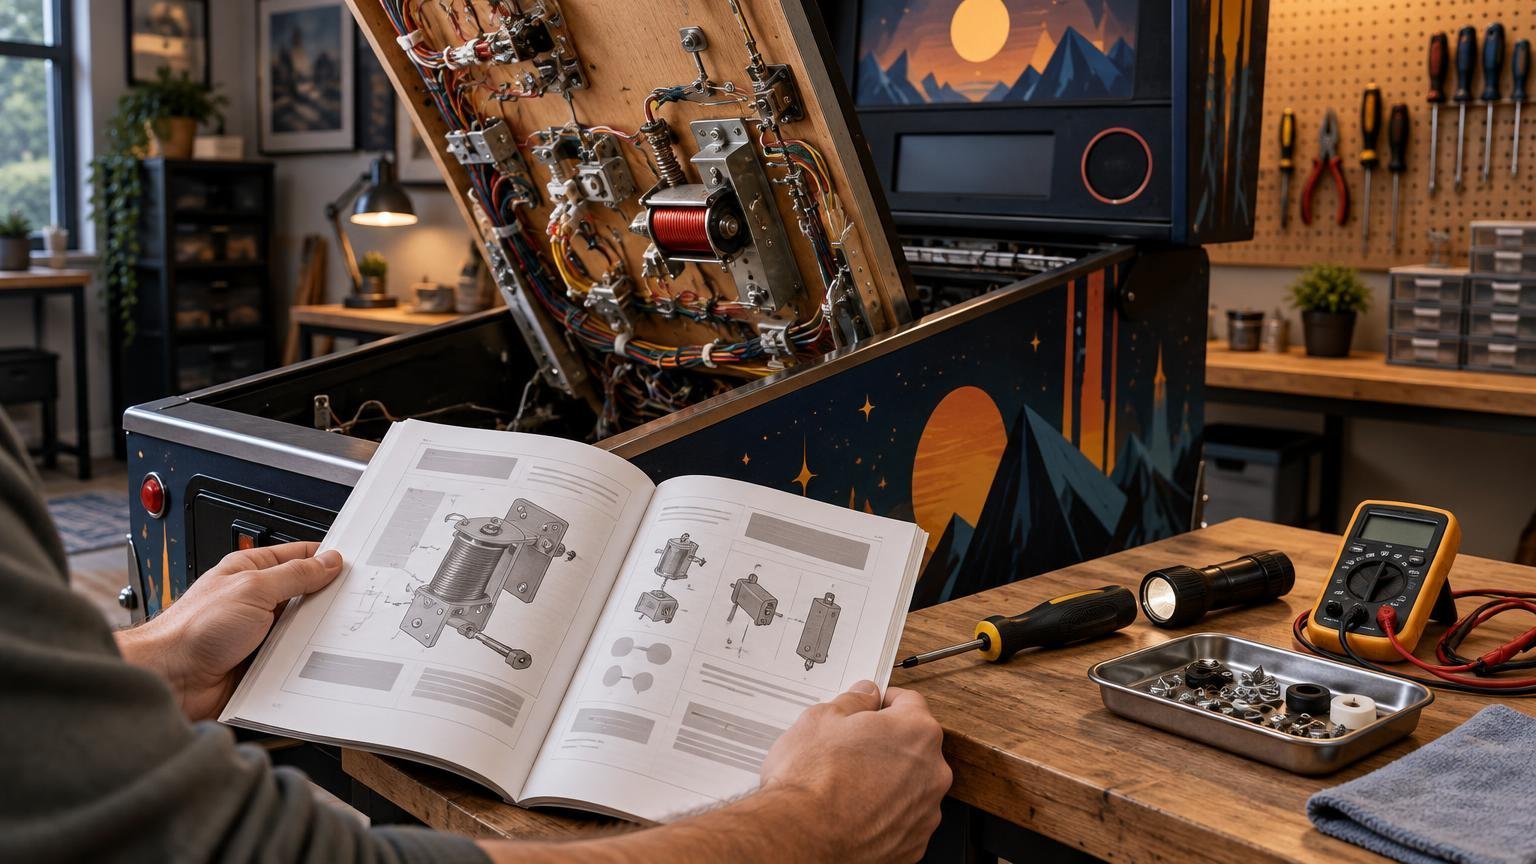
A pinball service manual is most useful before the parts order, not after the replacement fails to solve the problem. It gives you a map of the machine: switch locations, coil numbers, lamp assignments, assemblies, connectors, adjustment menus and diagnostic tests. Used methodically, that information can turn “the left ramp stopped working” into a much narrower question about a switch, connector, mechanism or control circuit.
The manual is not a promise that every symptom has a simple owner repair. It helps you identify what the machine believes is happening, compare that with what you can safely observe and collect better evidence. Sometimes that evidence supports replacing a part. Sometimes it reveals an adjustment, loose connector or software setting. It may also show that the next step requires electrical measurements, board work or a qualified technician.
Start with the exact manual for the exact machine
Match more than the title on the backglass. Record the manufacturer, game title, production generation and edition. Modern manufacturers may publish separate documentation for Pro, Premium, Limited Edition, Home Edition or remastered versions of the same title. Those editions can have different mechanisms, switches, coils, boards and wiring. Stern’s manual index reflects these distinctions, so a manual for the right theme but wrong edition is not a safe substitute.
Also record the serial number and installed software version before troubleshooting. Stern asks owners contacting technical support to provide the serial number and identifies two places where it can be found on its games. Its official support area separates manuals from game-code downloads, service bulletins, setup information, warranty details and other technical resources. That separation matters: the manual may be only one part of the current documentation set.
Documentation changes substantially between generations. A modern SPIKE-era Stern uses distributed node boards and software diagnostics, while older electronic games may organize service information around CPU boards, relay boards, ROMs, fuses and switch or lamp matrices. Electromechanical games are another category entirely. Start with system-specific documentation rather than borrowing a procedure from a machine that merely has a similar symptom.
Read the manual in layers instead of front to back
You rarely need to read several hundred pages before inspecting a dead pop bumper. Begin with the sections that establish the machine’s configuration and the language used throughout the document.
- Read the safety, setup and access instructions. Learn how the playfield is supported, where hazardous voltage may be present and which covers or assemblies should remain in place.
- Find the table of contents, parts illustrations and system overview. Note how the manufacturer names the affected assembly.
- Locate the service-menu instructions and the relevant switch, lamp or coil test.
- Find the switch number, coil number, connector or node associated with the symptom.
- Review the schematic or wiring information only after you understand the physical assembly and diagnostic result.
- Check for later service bulletins, current code notes and revision-specific instructions before acting.
A representative modern Stern operation and parts manual combines setup, adjustments, maintenance, diagnostics, electronic references, schematics and illustrated parts information. That makes it both an operator guide and a technical index, but each section answers a different question. A parts diagram tells you what the manufacturer calls an assembly. A diagnostic test tells you whether the machine detects an input or can command an output. A schematic shows the electrical relationship. None of those items alone proves which component has failed.
Translate the symptom into the manual’s categories
Describe the fault narrowly before opening the parts section. “The game is broken” provides no direction. “The left inlane switch does not register in gameplay or switch test” is useful. So is “the flipper activates but feels weaker than the opposite side” or “one feature lamp remains dark during the lamp test.”
Then classify the symptom as an input, output, mechanical or broader system problem. Switches are inputs: they tell the game that a ball reached a location or a mechanism changed position. Coils, motors and lamps are outputs controlled by the game. Mechanical problems include binding, broken links, poor alignment and loose hardware. A reset, blank display or widespread group of failures may point beyond one playfield device.
This classification prevents a common mistake: replacing the visible component before checking whether the machine can see or control it. If a shot does not score, the plastic above it is irrelevant; the associated switch and its physical actuator deserve attention. If several switches fail together, the switch matrix, shared wiring or connector information may be more useful than several individual replacement switches.
For a broader safe-observation checklist, see what to check before calling for pinball repair help. It helps separate useful owner observations from work that needs deeper diagnosis.
Use built-in diagnostics to gather evidence
Modern manuals normally explain how to enter the service menu and run tests. The representative Stern manual distinguishes standard operator adjustments from game-specific feature adjustments. It also documents tests for switches and lamps, while Stern’s SPIKE system reference includes switch, coil and lamp diagnostics plus troubleshooting flowcharts.
Use one focused test at a time and write down the result. During a switch test, for example, the representative manual directs the operator to actuate a switch with a pinball and confirm that the displayed switch identity and confirmation sound match the action. That establishes whether the game recognizes the input under test conditions.
Keep three columns in your notes: observation, what it suggests and what remains unproven. A switch that registers intermittently may suggest poor adjustment, contamination, movement in a connector or a damaged wire. It does not automatically prove that the switch itself needs replacement. A coil that works in test but not during play may redirect attention toward settings, game state or another required switch. The manual helps define those relationships; it cannot inspect the machine for you.
| Manual result | Reasonable next question | What it does not prove |
|---|---|---|
| Switch never registers | Is the actuator moving, and is the switch or shared circuit visible and intact? | That the switch itself is the only failed part |
| Coil activates in test | Does the game receive the input required to fire it during play? | That the entire mechanism is adjusted correctly |
| Several related devices fail | Do they share a connector, board, node or circuit path? | That every device needs replacement |
| Part number matches the diagram | Is the machine revision and assembly configuration also correct? | That the part caused the symptom |
Use diagrams to verify identity, fit and circuit context
Once diagnostics point to an area, use the illustrated assemblies and parts list to identify the component. Verify the description, part number, quantity, location and any edition-specific note. Look at the whole assembly rather than the most obvious piece. A sluggish mechanism might involve a worn linkage, binding pivot, loose fastener or incorrect adjustment instead of the coil that makes it move.
Schematics and pinout tables add circuit context. They can show whether multiple failed devices share a connector, return path, fuse or control board. On a SPIKE machine, distributed node architecture changes how outputs and inputs are organized compared with older centralized systems. This is precisely why an exact manual and system reference matter.
Reading a schematic is not the same as safely measuring a live circuit. If the next diagnostic step requires probing energized equipment, board-level repair or working near line voltage, stop unless you have the appropriate training and equipment. The PinWiki electromechanical repair guidance specifically warns that EM machines use line voltage and advises people who are uncomfortable with that risk to limit their work to unplugged-machine repairs.
Check updates before changing hardware
A fault that appears mechanical may involve software, configuration or an updated procedure. Stern publishes game-specific code downloads and read-me information separately from its manuals. Its documentation also maintains a service-bulletin area, and an older bulletin explicitly directed readers to update manual sections when new procedures or adjustments were introduced. Check all three sources—the manual, applicable bulletins and current code documentation—before treating an old printed page as the final word.
Do not install a code file because its name looks close. Follow the manufacturer’s instructions for the exact title and edition. The representative Stern manual calls for the correct .spk file and a blank FAT32 USB drive, followed by the documented update process. Preserve existing settings or records as directed by the applicable documentation.
Decide whether replacement is actually justified
Before buying a part, you should be able to state the evidence in one sentence: “The correct manual identifies this switch, it fails its diagnostic test, its actuator moves normally, and the accessible wiring shows no obvious disconnection.” That is not a complete electrical diagnosis, but it is far stronger than “the shot stopped scoring.”
Replacement becomes less appropriate when the diagnosis depends on guessing, when multiple devices share the failure, or when the procedure requires live-voltage testing. Board repair, burned connectors, repeated fuse failure, damaged power wiring and unexplained resets deserve particular caution. If professional service is the sensible next step, your manual-based notes can still reduce diagnostic time. You can report the exact machine, edition, code version, device number, test result and circumstances of failure. For planning purposes, pinball repair costs and common failure types explains why the visible part is not always the whole repair.
Modifications deserve the same discipline. Manufacturer documentation may warn that unauthorized accessories can damage the system or affect warranty coverage. Any add-on should preserve service access, avoid pinched wiring and use a documented, appropriate connection rather than an improvised tap. The principles in this guide to reversible pinball mod wiring are useful before adding more load or complexity to a machine.
Leave a record for the next repair
Record the original symptom, diagnostic results, connector locations, part numbers, software version and any changes made. Take clear photographs before disconnecting anything, label ambiguous connectors and retain removed original parts. PinWiki’s post-purchase checklist likewise recommends obtaining the manual and schematics, recording the serial number and consulting information for the machine’s specific system.
After an appropriate repair, repeat the same diagnostic test and then test normal gameplay. Confirm that wiring remains clear of moving assemblies, the playfield is properly secured and no new symptom appeared. A successful repair should produce repeatable evidence, not merely one good ball.
The best use of a pinball service manual is to slow down the expensive part of troubleshooting. Match the document to the machine, define the symptom, run the relevant test, trace the correct assembly and stop where the procedure exceeds your skills. Replace a component when the evidence points to it—not because it is the easiest object to add to a cart.