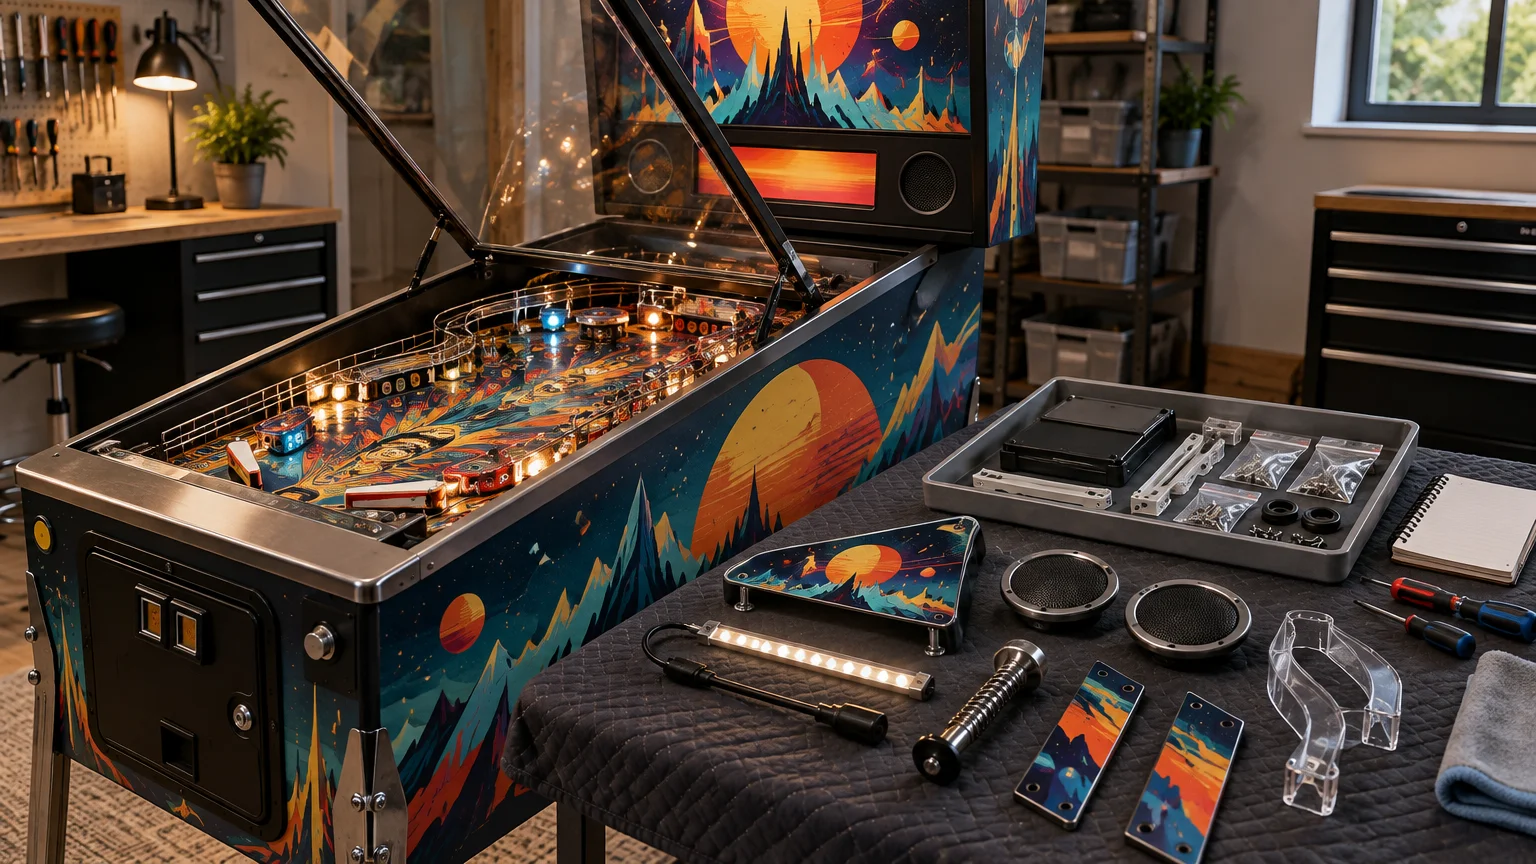
TLDR: The safest reversible pinball mods use existing fasteners, documented plug-in connectors, and machine-specific mounting points without drilling, cutting, soldering, or altering the factory harness. Shooter rods, carefully mounted cosmetic pieces, some protectors, and exact-fit art blades are often easier to return to stock than wired lighting, speakers, or large toppers. Keep every original part, verify the exact game and edition before ordering, and avoid any installation that obstructs playfield movement or service access.
A mod is not genuinely reversible merely because it can be pulled off later. The useful question is whether it can be removed without leaving holes, adhesive damage, strained connectors, altered wiring, missing factory hardware, or a cabinet that is harder to service. If resale matters, the best upgrade is one that improves your experience now while preserving a clean route back to stock.
How to judge reversible pinball mods
Treat reversibility as a complete installation standard rather than a product label. A strong reversible installation leaves the cabinet, playfield, boards, factory harness, and original parts materially unchanged. It should also allow ordinary maintenance without requiring a technician to dismantle the mod first. The practical principles are covered in more detail in this guide to reversible mod wiring and service access.
Use four tests before buying anything:
- Attachment: Does the part use existing screws, brackets, posts, or clips, or does it require drilling, trimming, permanent adhesive, or replacement of factory hardware?
- Electrical connection: Is there a documented connector and harness for the exact machine, or does installation require tapping power, splicing wires, soldering, or improvising an adapter?
- Serviceability: Can the playfield still be raised and slid forward? Can a technician reach boards, fuses, connectors, locks, and moving assemblies without stressing or disconnecting the mod?
- Return to stock: Do you know where every original screw, speaker, shooter rod, plastic, bracket, and cable will be stored, and can the change be undone using documented steps?
A modification can pass three tests and fail the fourth. For example, a light may use a plug-in harness but still have wiring routed across a playfield support or near a moving mechanism. A blade may be removable in theory but use adhesive that can mark cabinet artwork. Evaluate the installation method, not just the finished appearance.
The exact title and edition control compatibility
A game title alone is not enough to establish fit. Record the manufacturer, full title, production generation or revision, edition, trim, and any factory accessories already installed. Pro, Premium, LE, CE, Home Edition, remake, and later production configurations may use different brackets, mechanisms, speakers, cabinet dimensions, or accessory provisions.
Official product listings show how narrow fitment can be. Stern lists some inside art blades for Pro, Premium, and LE models, while another officially listed set is specifically identified for Pro machines. Stern’s Mandalorian feature matrix also documents hardware and accessory differences among its Pro, Premium, and LE configurations. The official Mandalorian feature matrix is a useful example of why the edition must be checked rather than inferred from the title.
Before placing an order, match the accessory part number against the manufacturer or seller’s current compatibility statement. Read the installation instructions and check the supplied bracket, fasteners, harness, connector, and any prerequisite factory option. If the listing says only that a part fits “most” machines, ask for confirmation of your exact configuration.
Mod types compared by removal and resale risk
| Mod type | Typical reversibility | Main complication | Question to answer before ordering |
|---|---|---|---|
| Shooter rods | Often high when the original assembly is retained | Plunger length, spring arrangement, cabinet clearance, or thread mismatch | Is it specified for this exact title, manufacturer, and cabinet configuration? |
| Small cosmetic pieces | High to moderate | Adhesive, loose parts, blocked sightlines, or interference with ball travel | How does it attach, and does it clear every nearby mechanism? |
| Protectors | Moderate | Fit, added thickness, trapped debris, hardware changes, or contact with moving parts | Is it designed for this exact playfield location and production version? |
| Art or mirror blades | Moderate | Adhesive residue, artwork risk, fit around rails, or playfield removal clearance | Does the listed set fit this edition, and what removal method is documented? |
| Plug-in lighting | Moderate | Power load, connector compatibility, heat, glare, and wire routing | Does the kit include a documented harness for this exact machine? |
| Speaker or speaker-light kits | Moderate to low | Audio compatibility, power connections, cabinet access, and extra wiring | Does it match the machine’s audio hardware and preserve board access? |
| Toppers | Moderate to low | Weight, mounting hardware, wiring, backbox access, and ceiling clearance | What bracket, handling procedure, power connection, and overhead clearance are required? |
These are screening categories, not compatibility promises. A screw-mounted cosmetic piece can be less reversible than a wired kit if it replaces scarce factory hardware or rubs against original artwork. Conversely, a machine-specific lighting kit with a dedicated harness and carefully planned routing may be straightforward to remove.
Toppers can be removable without being simple
A topper affects more than appearance. Check the backbox mounting method, topper weight, connector location, cable path, total machine height, ceiling clearance, and whether the head can still be opened or serviced. Measure the intended room as well as the machine; an accessory that fits the backbox may still conflict with a low ceiling, shelf, duct, or light fixture.
Do not assume installation is a one-person job. Jersey Jack Pinball’s Guns N’ Roses topper instructions describe the topper as heavy and call for two people during installation. The official topper instructions should control the procedure for that accessory. Jersey Jack’s Harry Potter documentation separately includes a title-specific topper-removal procedure and directs owners to retain the topper, support bracket, and screws. Those examples show why “removable topper” does not describe one universal mounting system.
If removal requires supporting a heavy assembly while reaching behind the backbox, use another person or qualified help. Store the original blanking plates, brackets, screws, and packaging together so the machine can be returned to its factory configuration.
Lighting and speaker upgrades need disciplined wiring
Plug-in lighting can look harmless while creating the most annoying service problems in the cabinet. Favor kits with exact-machine instructions, a dedicated compatible harness, protected connectors, and a clear removal path. Avoid improvised power taps, wire splices, overloaded connectors, and cables left near sharp edges, hot components, playfield supports, hinges, coils, or moving mechanisms.
Unplug the machine before electronic installation or inspection and follow its title-specific manual. A connector that physically fits is not proof of correct voltage, polarity, current capacity, or electrical purpose. If the kit lacks clear documentation for your model, do not experiment on the machine’s boards or factory harness.
Speaker-light kits introduce both audio and lighting considerations. Confirm speaker size and impedance where specified, mounting depth, grille clearance, connector type, and the source of lighting power. After installation, the speaker panel, boards, fuses, and connectors should remain accessible. Bundle excess cable without pulling connectors sideways, and label any added harness so a future owner or technician can distinguish it from factory wiring.
Protectors, blades, shooter rods, and cosmetic pieces
Non-wired parts are usually easier to evaluate, but they are not automatically risk-free. A playfield, ramp, or plastic protector must match the exact location and hardware stack. Added thickness can change screw engagement or reduce clearance. A poorly fitted edge can also contact the ball, a switch, a ramp, or another moving assembly. Inspect fit with the machine off before playing, then confirm that nothing binds or rubs.
Art blades and mirror blades need special attention because their attachment method can affect original cabinet art. Determine whether the product uses magnets, existing rails, screws, clips, or adhesive. If adhesive is involved, the seller should provide a removal method appropriate to the cabinet surface. “Peel and stick” explains installation, not what the surface will look like after several years.
Shooter rods are among the more promising return-to-stock upgrades when made for the exact machine. Compare the complete assembly rather than appearance alone: shaft dimensions, spring and sleeve arrangement, hardware, travel, and interior clearance all matter. Bag and label the original rod and associated parts immediately after removal.
Small figurines, signs, plastics, and other cosmetic additions should not obstruct sightlines, ball travel, lamps, switches, ramps, or service fasteners. Prefer existing mounting points and reversible brackets. More elaborate ideas can still work, but the evaluation framework in this guide to custom pinball mods is useful before adding visual detail merely because space appears available.
A removable mod can still affect warranty questions
Physical removal does not automatically make an installation warranty-safe. Stern’s limited warranty page, listed as effective September 4, 2024 in the supplied policy, excludes certain damage associated with alteration, improper installation or repair, non-genuine accessories, and unauthorized modifications. Read the current manufacturer warranty for the machine before changing one that remains covered. Other manufacturers can use different terms.
The practical distinction is damage and responsibility. Removing an accessory later does not undo a damaged connector, drilled hole, pinched wire, overloaded circuit, or scratched cabinet. When warranty coverage matters, use officially supported accessories and procedures where available, retain purchase and installation records, and ask the manufacturer or authorized service contact about an uncertain connection before installing it.
Preserve serviceability and document the change
After installation, test service access with the machine powered off. Verify that the playfield can be raised, supported, and moved through its normal service positions without pulling added wires. Confirm that common access points remain visible and reachable. A future repair should not begin with guessing which cable belongs to which modification.
Create a simple mod record containing:
- Accessory manufacturer, product name, and part number
- Compatible machine title, edition, and production revision stated by the seller
- Installation instructions and purchase receipt
- Photographs of brackets, connectors, and wire routing
- A labeled bag or box containing every removed factory part and fastener
- Notes describing any adhesive, replacement hardware, or non-obvious removal step
Marketplace activity shows that both mods and modified machines are bought and sold, but listings do not establish a universal resale premium or penalty. Buyer preferences differ. Some want a stock example; others value a clean, title-appropriate upgrade. Good documentation gives either buyer a clearer choice.
Return to stock or sell with the mods?
Return the machine to stock when the modification is highly personal, visually dominant, difficult to evaluate, or likely to complicate transport and service. Consider including a removable mod separately when it is cleanly installed, documented, and specifically compatible with the machine. If it stays installed, disclose it and include the original parts.
Do not assume the purchase price of a mod adds the same amount to the machine’s sale price. Treat accessories as optional value rather than guaranteed appreciation. Originality, machine condition, installation quality, title demand, and buyer taste can matter more than the accessory invoice.
The practical buying rule
Choose upgrades in this order: exact fit, non-destructive attachment, documented electrical compatibility, preserved service access, and appearance. If a seller cannot establish the correct edition, connector, bracket, or removal method, pause before ordering. Owners who are uncertain about electrical load, wire routing, heavy topper handling, or mechanical clearance should use title-specific installation help rather than turning a removable accessory into a permanent repair problem.
The best next step is to photograph the machine’s identification information, existing accessories, backbox, cabinet interior, and intended mounting area. Compare those details with the current product instructions before spending money. A reversible mod should leave both choices open: enjoy the upgraded machine now, or return it cleanly to stock when it is time to sell.
References
- Iron Maiden Art Blades – Stern Pinball
- Teenage Mutant Ninja Turtles Art Blades – Stern Pinball
- THE MANDALORIAN: FEATURE MATRIX
- GN’R TOPPER INSTALLATION INSTRUCTIONS
- Topper Removal for Low Ceiling Clearance
- Limited Warranty – Stern Pinball
- Pinside Marketplace » New and used pinball games, parts and mods | Pinside Market