
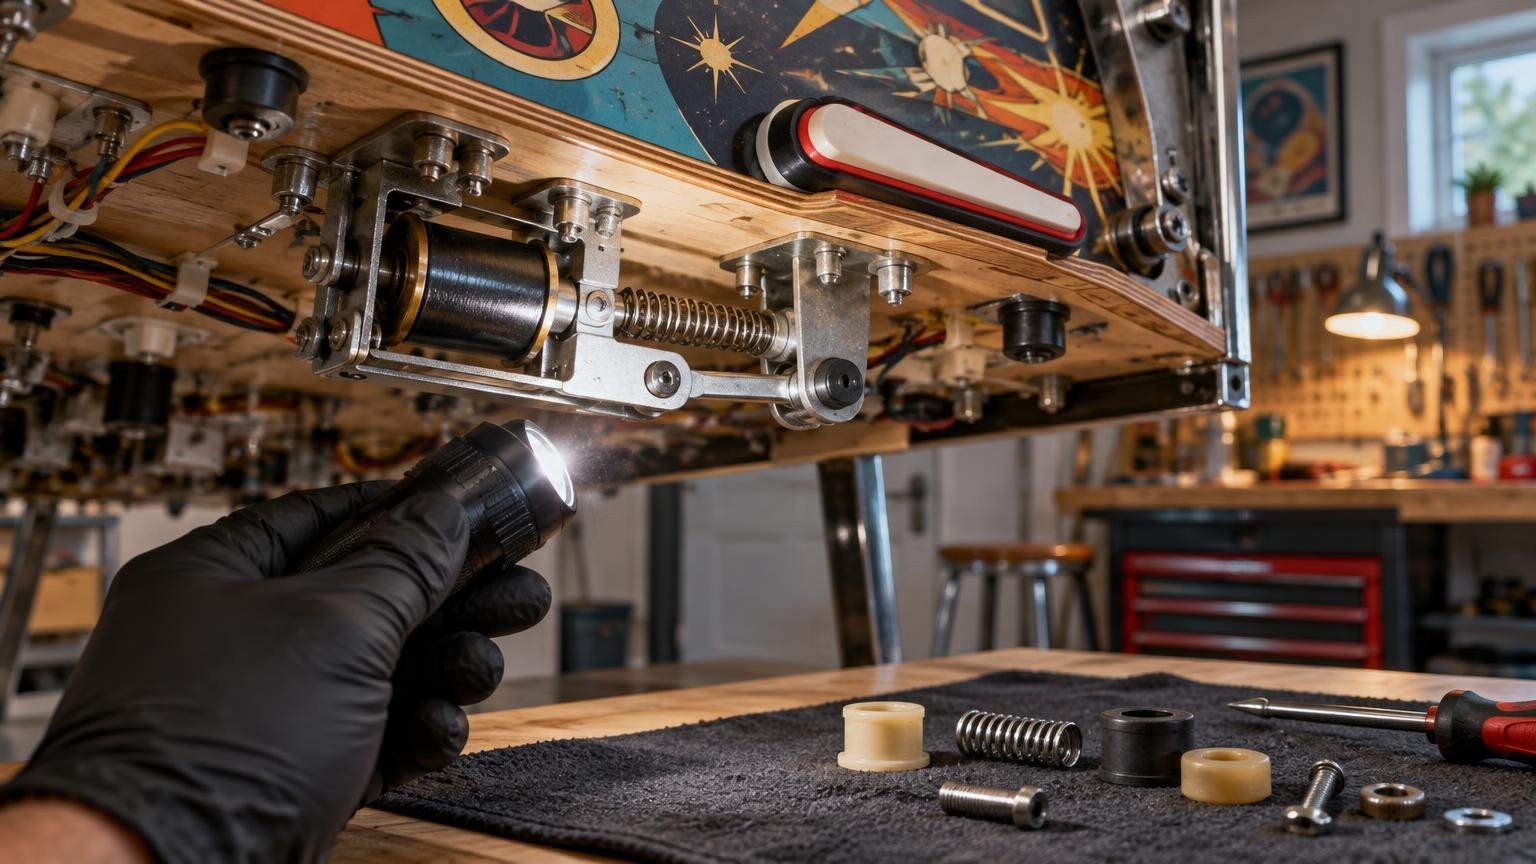
A pinball flipper rebuild kit makes sense when documented wear, looseness, binding, or damaged mechanical parts are affecting the flipper—and the selected kit matches the exact assembly. It is not an automatic cure for every weak, sticky, intermittent, or dead flipper.
Before buying a pinball flipper rebuild kit, identify the manufacturer, game, edition, flipper position, and assembly shown in the machine’s parts manual. Inspect only with power removed, and escalate the job if you find burned wiring, heat damage, repeated fuse failures, or evidence that the fault extends beyond ordinary mechanical wear.
Start with a safe, power-off inspection
Switch the machine off and disconnect it from power before opening the cabinet, raising the playfield, touching a mechanism, or removing a part. A Stern service manual likewise instructs technicians to remove power before servicing and to use proper playfield support and positioning. Follow the instructions for your machine rather than assuming every cabinet and playfield lifts or rests the same way.
A basic owner inspection should remain observational. Do not perform energized under-playfield testing, bridge switches, bypass fuses, probe live connectors, or improvise wiring repairs. If the playfield cannot be positioned securely, stop rather than trying to hold it with one hand while inspecting the flipper with the other.
Before opening anything, document the symptom during ordinary play. Note whether the flipper is weak all the time or only after the game warms up, whether it returns slowly, whether it chatters, and whether the problem is isolated to one flipper. Also record any startup or diagnostic messages. A message is a clue rather than a parts order; our guide to reading pinball startup errors explains what to record before replacing components.
What a flipper rebuild kit does—and does not do
A rebuild kit is an assembly-specific collection of replacement parts intended to refresh selected wear components. Depending on the machine and supplier, that may involve parts associated with the plunger, crank, coil sleeve, return mechanism, coil stop, or related hardware. Kit contents vary, so the product list must be checked against the applicable manual and the parts already installed.
The exploded assembly diagrams in Stern’s Guardians of the Galaxy manual show components including an end-of-stroke switch, coil, coil sleeve, flipper bushing, return spring, coil stop, plunger-and-crank assembly, bat and shaft, and set screws. That diagram is useful for understanding the mechanism, but it does not mean every rebuild kit contains every illustrated component.
A kit can be appropriate when compatible wear parts have become loose, worn, broken, or mechanically obstructed. It will not necessarily correct a failed switch, damaged connector, broken wire, incorrect coil, control-board problem, or another electrical fault. Replacing a group of mechanical parts without identifying the symptom can add cost while leaving the original problem untouched.
How to identify the correct pinball flipper rebuild kit
Start with the machine rather than the kit listing. Record all of the following before ordering:
- Manufacturer and full game title
- Edition or variant, such as Pro, Premium, or Limited Edition where applicable
- Approximate production era or serial information if the manual uses it
- Lower, upper, mini, or other flipper position
- Left or right side as identified in the applicable parts diagram
- Part numbers visible on the existing assembly, without removing parts solely to find them
- The manual’s assembly and kit numbers, including any revision notes
Find the operation or parts manual for that exact game and edition. Manufacturer support pages are the best starting point for current manuals and service bulletins. For example, Stern’s support library organizes documentation around individual games and editions. If the machine is from another manufacturer or an older generation, use that manufacturer’s documentation or a reliable reproduction of the original parts catalog.
Compare the exploded diagram, assembly number, coil number, and kit description. Do not rely on a photo that merely looks similar. If the listing uses a date range or assembly family, confirm that your installed mechanism belongs to it. A commercial WPC right-flipper kit, for example, is listed for a particular assembly family and 1992–1999 period rather than as a universal Williams/Bally kit.
Why matching only the brand is not enough
Flipper parts can differ within one manufacturer’s catalog. The Guardians of the Galaxy manual lists rebuild-kit part 500-6307-10 for the documented left assembly and 500-6307-00 for the right assembly. It also documents assembly-specific coil information. Those numbers are an example for that manual, not a recommendation for an unknown Stern machine.
Upper and mini flippers deserve the same caution. Their dimensions, coil requirements, mounting arrangement, or mechanical components may differ from the lower flippers on the same playfield. Even when two mechanisms appear alike from above, their under-playfield assemblies may not accept the same parts.
When a seller’s compatibility list and the machine manual disagree, pause the order. Ask the manufacturer, parts supplier, or a technician to verify fitment using the exact game, edition, position, assembly number, and clear photos. That is less frustrating than discovering halfway through service that a sleeve, stop, plunger, spring, or crank is wrong.
What you can observe with the power removed
With the machine unplugged and the playfield supported exactly as its documentation requires, use good lighting for a visual inspection. Avoid forcing the bat or mechanism. If the machine has comparable left and right lower flippers, a side-by-side visual comparison can make a displaced spring, loose fastener, unusual gap, or visibly different resting position easier to notice.
- Look for a return spring that is visibly broken, detached, or distorted.
- Check for obviously loose, missing, or displaced mechanical hardware without reaching into pinch points.
- Note excessive grime, metal debris, or wear around moving parts, but do not apply an unapproved lubricant.
- Look for cracked parts, a damaged coil sleeve edge, or a plunger that appears visibly misaligned.
- Document browned connectors, melted plastic, damaged insulation, or darkened areas without attempting an electrical repair.
- Photograph the assembly from several angles before anything is moved or removed.
These observations narrow the next step; they do not establish a complete diagnosis. A visible broken mechanical part may support ordering the documented replacement or kit. Discoloration, damaged insulation, or an overheated connector instead points toward a fault that should be evaluated before the machine is operated again.
Match the symptom to the next decision
| Symptom | Safe power-off observation | Practical next step |
|---|---|---|
| Weak or sluggish flipper | Compare resting position and visible hardware with a similar assembly, if the game has one. | Verify the assembly and inspect for wear or binding; do not assume a kit will resolve a switch, coil, power, or control problem. |
| Flipper does not return normally | Look for a visibly detached spring, obstruction, loose hardware, or misalignment. | Use the parts diagram to identify the affected component. Seek service if the cause is unclear or access is unsafe. |
| Dead or intermittent flipper | Record display messages and photograph visible connectors or damaged wires without touching energized components. | Follow the machine-specific diagnostic documentation or contact a technician; a mechanical kit alone may not address the fault. |
| Burning odor, melted connector, or visible heat damage | Stop using the machine and document the affected area. | Do not install a kit as a trial fix. Arrange qualified diagnosis. |
| Fuse fails again after correct replacement | Do not continue replacing fuses or increase the fuse rating. | Leave the machine off and have the underlying electrical fault diagnosed. |
Several symptoms can share the same outward appearance. A weak flipper may involve friction or worn mechanical parts, but it may also involve the switch, coil, wiring, connectors, or power delivery. An intermittent flipper is particularly poor evidence for ordering a kit without further diagnosis. For a broader triage process, see what to check before calling for pinball repair.
Consider warranty coverage before opening a newer machine
If the game may still be covered by a manufacturer or distributor warranty, read the applicable terms and contact the approved service channel before installing parts. Stern’s published limited warranty excludes damage resulting from improper installation or repair and damage associated with non-genuine parts or accessories; it directs owners with a suspected defect to contact Stern service for diagnosis. Review Stern’s current limited-warranty terms for the precise language that applies to Stern machines.
That does not mean every owner inspection automatically cancels every warranty. It means the exact terms, cause of damage, parts used, and repair path matter. Preserve purchase records, take photos, and obtain guidance before modifying a covered assembly.
When the repair belongs to a technician
Professional diagnosis is the safer choice when the correct manual is unavailable, fitment remains uncertain, the playfield cannot be supported securely, or the owner is uncomfortable working around tightly sprung mechanisms. It is also appropriate when there is visible heat damage, damaged wiring, repeated fuse failure, an intermittent fault, a suspected board issue, or no clear mechanical cause.
A useful repair request includes the manufacturer and game title, edition, flipper position, concise symptom description, any display messages, location, and clear photos or a short video. Rock Custom Pinball provides troubleshooting and help with flipper and switch issues for owners in Utah. Current service availability, timing, and parts needs should be confirmed when requesting Utah pinball machine repair.
Order parts only after identifying the assembly
The right sequence is simple: document the symptom, disconnect power, follow the machine-specific instructions for safe access, inspect without forcing or energizing the mechanism, and match the assembly to its official parts diagram. Only then should you decide whether the documented pinball flipper rebuild kit addresses the parts that actually appear worn or damaged.
If the evidence points to wiring, connectors, fuses, heat, a coil, a switch, or control electronics—or if it does not point clearly anywhere—stop treating the kit as a diagnostic shortcut. Accurate fitment and a cautious diagnosis are more valuable than replacing the largest possible collection of parts.
Frequently Asked Questions
How do I find the correct flipper rebuild kit?
Identify the manufacturer, full game title, edition, flipper position, side, and installed assembly. Then compare the assembly number, coil number, exploded diagram, and kit description in the manual for that exact machine. Manufacturer support libraries can provide game- and edition-specific documentation.
Do left and right flippers always use the same rebuild kit?
No. Fitment can differ by side and assembly. For example, the Guardians of the Galaxy manual lists rebuild-kit part 500-6307-10 for its documented left assembly and 500-6307-00 for the right assembly. These are examples for that manual, not universal Stern recommendations.
Does a weak flipper always need a rebuild kit?
No. Mechanical wear or binding may make a compatible kit appropriate, but weakness can also involve a switch, coil, wiring, connector, power-delivery issue, or control electronics. Diagnose the symptom and verify the assembly before ordering parts.
What can I inspect safely with the machine powered off?
With power disconnected and the playfield supported as the machine’s instructions require, look for broken or detached springs, loose or displaced hardware, misalignment, damaged insulation, browned connectors, melted plastic, and visible heat damage. Do not force the mechanism or perform energized under-playfield testing.
Could a repair affect a newer machine’s warranty?
It may, depending on the warranty terms, the cause of damage, the parts used, and how the repair is performed. Stern states that damage from improper installation or repair and damage associated with non-genuine parts or accessories are excluded from its limited warranty. Contact the applicable service channel before modifying a covered assembly.