

TLDR
- A good homebrew pinball cabinet starts with a practical choice: rebuild a donor machine or build from scratch.
- For most first-time builders, a donor cabinet or retheme path is the safer way to get moving.
- The mistakes that slow projects down are usually physical, not creative: bad cabinet damage, wrong hardware assumptions, and measurements that do not match your actual parts.
- Before you buy wood, lock down your cabinet plan, hardware family, and joinery method.
This page helps first-time homebrew builders choose the right cabinet path by explaining donor vs scratch build, hardware fit, and cabinet planning details, so they can start with fewer expensive mistakes.
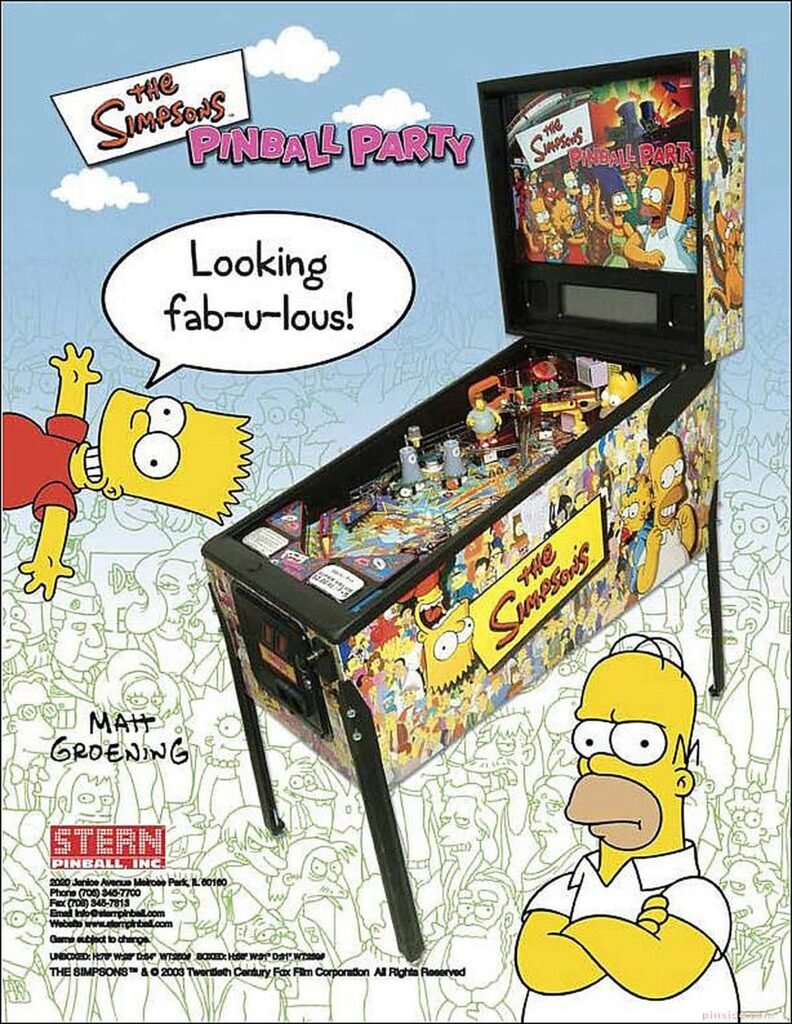
One of the best things about pinball is the moment a machine suddenly does something you did not quite expect. In The Simpsons Pinball Party, Springfield Mystery Spot can reverse the flipper buttons, and the game’s TV modes eventually feed into Alien Invasion. That kind of late-game payoff is a big reason the machine still sticks in people’s heads. It is also a good reminder that memorable pinball starts with structure. Before you get cute with rules, toys, callouts, or wizard modes, you need a cabinet that actually works.
That is why this guide focuses on the homebrew pinball cabinet first. The cabinet is not the flashy part, but it decides a lot more than people think. It affects your hardware choices, your rail and lockbar fit, your playfield support points, your backbox geometry, and how painful the whole build feels six weeks from now.
Why the Cabinet Comes Before the Theme
A lot of new builders want to start with theme. That makes sense. Theme is fun. Theme is the part you can picture.
But a homebrew pinball cabinet is the thing that turns an idea into a real machine. It gives you the physical boundaries for shot layout, playfield slide travel, glass size, coin door position, plunger location, leg hardware, and backbox fit. If you get those basics wrong, every later step gets harder.

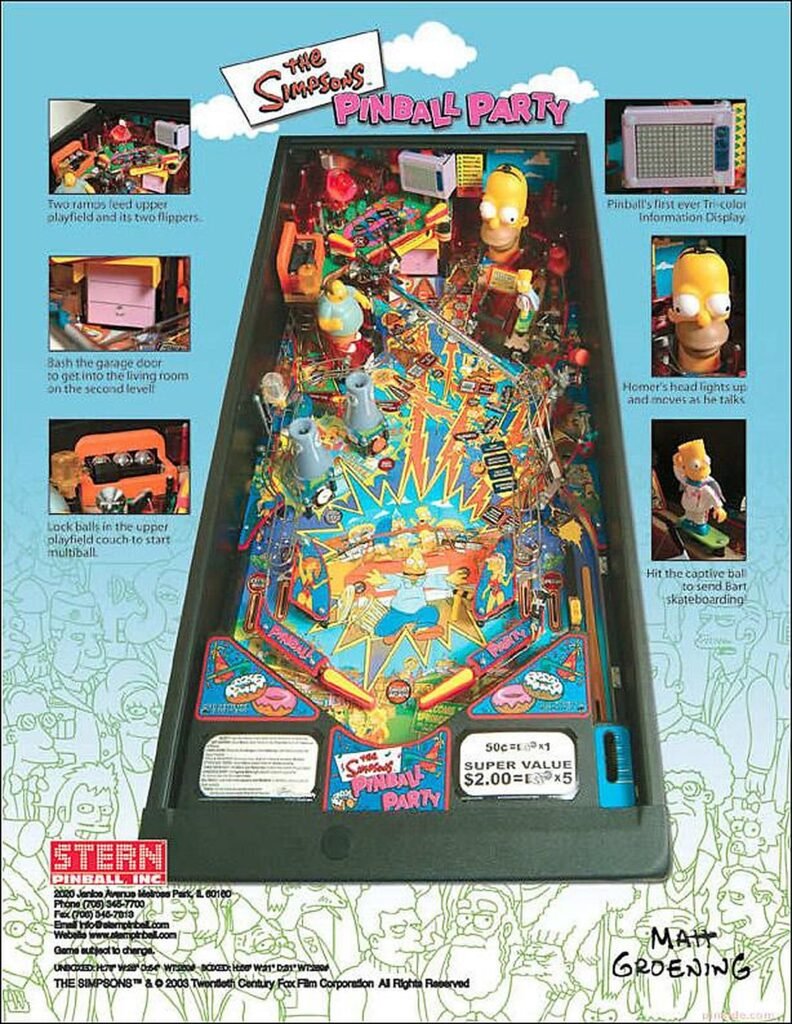
I like using The Simpsons Pinball Party as a mental reset here. Officially, it is a February 2003 Stern title with a two-level playfield, five flippers, three ramps, and a famously packed ruleset. The garage door leads to the upper playfield and TV area, and the game is loaded with mode stacking and late-game objectives. In other words, it feels huge because the layout, mechanisms, and rules all support the same goal. That is the lesson worth stealing, not just the artwork.
So before you think about “what theme should I build,” ask a better question: what physical package will support the game I want to make?
Donor Cabinet vs Scratch Build
This is the first big fork, and it matters.
Donor Cabinet
A donor cabinet means you start with an existing machine or empty shell and rebuild around that structure. In many cases, this is the more realistic first project.
The upside is obvious. A donor setup can give you a proven cabinet shape, known hardware fit, a real backbox footprint, and often some reusable parts. If you go the retheme route, you can keep a lot of the machine’s core structure and focus your energy on layout changes, artwork, rules, sound, and selected mechs instead of reinventing every board and bracket.
The downside is that donor cabinets come with history. And history is rarely neat. You might find split side walls, swollen wood, delaminating veneer, old bracket holes that do not match the hardware you want to use now, or a backbox that looks fine until you start pulling it apart.
Scratch Build
Scratch build means full freedom. You control the plan, materials, joint style, exact hole placement, and every hardware decision.
That freedom is real, but so is the workload. You are not just making art decisions. You are deciding cabinet thickness, joinery, mounting positions, bracket spacing, service access, cable routing, and how closely you want to match an existing cabinet family such as a standard-body WPC style build.
For a first machine, I usually think of it this way:
- Choose a donor cabinet if you want to reduce unknowns.
- Choose scratch build if you want full control and you are ready to solve a lot of small physical problems yourself.
Neither path is wrong. But they are not equally forgiving.
What to Inspect Before You Commit to a Donor Cabinet
If you go donor, inspect it like a cabinet, not like a collectible.
A donor cab does not need to be pretty. It does need to be structurally worth saving.
Start with the side walls. Look for splitting, soft wood, swelling, or places where the cabinet has opened up at the joints. Then check the backbox for corner damage, heat damage, water damage, and lifting veneer. Veneer problems are not always fatal, but they do add time.
Next, check the front hardware area. This is where new builders get tripped up. The old lockbar receiver, coin door position, button holes, plunger hole, and rail fit might not match the parts you plan to use. Sometimes the old holes are close enough to tempt you into forcing it. That is usually where frustration starts.
Also check these before you buy:
- Leg bracket area: cracked wood around bolt points is a bad sign.
- Bottom panel condition: sag, swelling, or ugly repairs can make the cabinet feel loose even after cleanup.
- Rail and lockdown fit: old hardware families do not always translate cleanly to newer parts.
- Backbox hinge area: if this is chewed up, the machine can become annoying to service and awkward to assemble.
A rough cabinet can still be a good donor. A weak cabinet is usually not.
The Hardware That Changes the Build Faster Than You Expect
A homebrew pinball cabinet is really a hardware-fit problem disguised as a woodworking project.
A few parts drive more of the build than people expect:
Lockdown Bar Receiver
This is one of those parts people assume will just line up. It often does not. Dry-fit it with the actual lockdown bar and side rails before you commit to final drilling. Side rails can change the effective height slightly, which means a receiver that looked “basically right” on paper can feel wrong once real metal is involved.
And in some guide workflows, it is easier to install or at least test the receiver before the coin door goes in.
Side Rails
Rails are not decorative. They influence top-edge height and lockbar fit. If you are mixing plan families or part families, check this early.
Coin Door
The coin door is one of the biggest visual anchors on the front of the cabinet, but it is also part of the fit puzzle. Receiver clearance, bolt placement, and front panel drilling all intersect here.
Playfield Support Points
Some cabinet plans omit support screw positions because those vary by playfield. That is not a bug. It is a reminder that not every detail should be drilled before you know the real playfield and support strategy.
Material Thickness and Joinery: Verify Before You Buy
This is one of the easiest ways to waste money.
Do not assume every cabinet plan uses the same plywood thickness. Some project notes and custom approaches use thinner stock in specific contexts. But common standard-body cabinet plans are usually built around 3/4-inch birch plywood. That means you should not buy material until you know which cabinet family, hardware set, and cut plan you are actually following.
The same goes for joints.
A lot of builders love lock mitre joints because they are strong and clean. Traditional WPC cabinets used them, and they look great. The catch is that they need the right bit, setup time, and a little confidence.
Simple mitre joints can also work well.
Butt joints are the least glamorous option, and that is exactly why beginners sometimes overlook them. They are not as elegant, but they are valid when the measurements are adjusted correctly and the cabinet is reinforced properly.
Here is the honest version:
- Lock mitre joints look good and are strong, but they ask more from your tooling and setup.
- Simple mitres can be a solid middle ground.
- Butt joints are easier to execute, but they require thoughtful measurement changes and reinforcement.
Pick the one you can build accurately, not the one that sounds most impressive.
Standard Body Dimensions That Help You Plan Sanely
If you are building around a standard-body footprint, there are a few measurements that are useful as planning anchors.
Many WPC-style standard-body references put the cabinet at about 22 inches wide at the front and back, with a 50-1/2 inch bottom panel length and an inside playfield area around 20.5 by 45 inches. Standard cabinet width is commonly listed at about 56 cm, or roughly 22 inches, with the full cabinet body around 131.5 cm long before you start thinking about legs, backbox, and the plunger sticking out.
Those numbers are helpful. They are not permission to stop measuring.
Use them as sanity checks, not gospel. Hardware family, manufacturer style, and your exact plan set still matter.
A good rule here is simple: if your drawing, your hardware, and your plywood thickness disagree with each other, the drawing is not “close enough” yet.
A First-Build Checklist That Keeps the Project Moving
This is the version I would use if I wanted to avoid the most common first-step mistakes.
- Decide whether you are rebuilding a donor or starting from scratch.
- Choose your cabinet family and plan set before buying wood.
- Confirm your actual hardware family: lockbar, receiver, rails, coin door, leg brackets, hinges.
- Dry-fit the front hardware relationships early.
- Inspect or plan for backbox fit before you get too far into the main cabinet.
- Decide your joinery based on your tools, not your ego.
- Leave playfield-specific support details until you know the real layout.
- Only then start committing to final drilling and finish work.
That is not the exciting part of homebrew pinball. It is the part that lets you get to the exciting part.
Final Thoughts
A great custom machine is not built from theme first. It is built from decisions that keep the machine honest.
That is why I would treat the cabinet as the first design choice, not just the first woodworking task. A smart homebrew pinball cabinet plan gives you room to build the parts players actually remember later: the upper playfield surprise, the timed mode scramble, the wizard mode payoff, the shot that suddenly matters more because the machine taught you to care.
If you get the cabinet right, the rest of the build still will not be easy. But it will at least be the right kind of hard.
FAQs
Is a donor cabinet usually better for a first homebrew build?
In most cases, yes. A donor cabinet reduces the number of unknowns and gives you a real hardware footprint to work from. You still need to inspect it carefully, but it is often a friendlier first step than building every cabinet surface from scratch.
Can I mix Stern-style parts with WPC-style cabinet plans?
Sometimes, but you should assume nothing. Lockbar receiver height, coin door relationship, side rail fit, and front drilling can all shift when you mix families. Dry-fit as much as you can before final drilling.
What plywood should I use for a homebrew pinball cabinet?
Many standard-body cabinet plans are built around 3/4-inch birch plywood. But the real answer is: use the thickness your exact plan and hardware set are designed around. Do not buy sheet goods first and rationalize later.
Are butt joints okay for a pinball cabinet?
Yes, they can be. They are not the traditional showcase choice, but they are workable if the measurements are adjusted correctly and the cabinet is reinforced properly. Accuracy matters more than joinery bragging rights.
How close do cabinet dimensions need to be?
Close enough is not a great standard here. Small errors stack. If your lockbar, rails, coin door, and front panel drilling do not all agree, fix that on paper first.